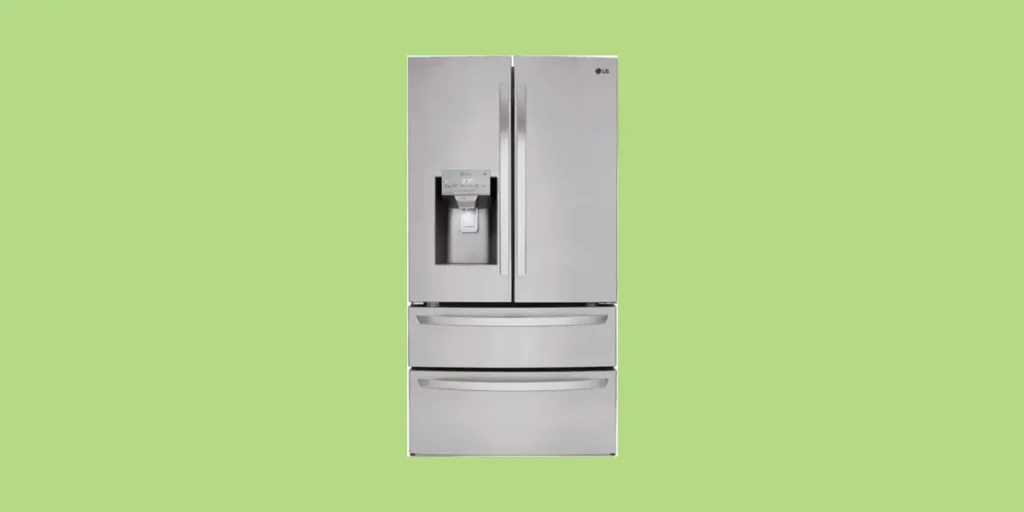
It’s recommended that you change the water filter in your LG refrigerator every 6 months, and it’s not one of those chores you should skip.
Not only do filters affect the taste of your water, they also affect the quality of your ice and can impact the reliability of your refrigerator.
And over time, water filters lose their capacity to clean the water that’s being pushed through them. They can even make your water quality worse by introducing contaminants and bacteria.
So it’s important to replace them regularly. Luckily, resetting your LG refrigerator water filter is a quick and easy process.
In this article, I’ll cover the exact steps you need to take, no mater what model of LG refrigerator you have.
How To Change The Water Filter On A LG Refrigerator
First, locate the water filter compartment in the door or top of the refrigerator. Remove the old filter by swinging it out of the compartment and then rotating it counter-clockwise. Install the new water filter by inserting it and rotating clockwise until the arrows line up. Then, swing the filter back into the compartment.
The main thing you will want to remember is that you need to swing the filter all the way out and then rotate it counter-clockwise in for it to release.
Next, I’ll walk through each step mentioned above so that you can follow along while replacing the water filter on your refrigerator.
Step 1: Uninstall the old water filter
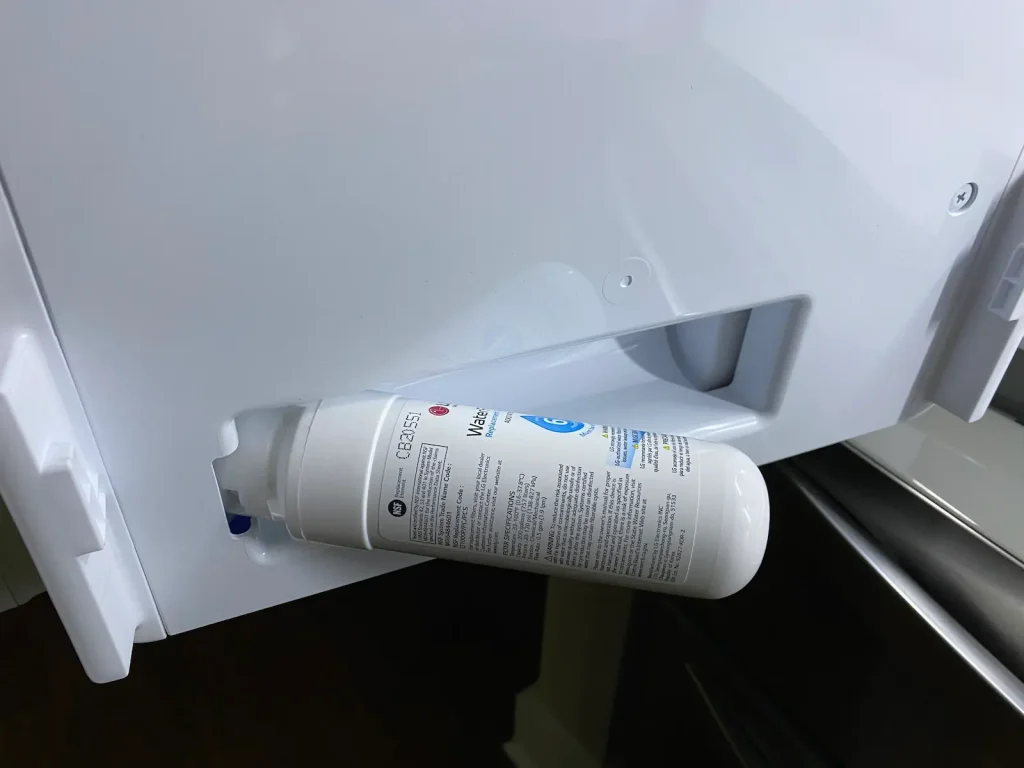
Most side-by-side LG refrigerators place their water filters in the top of the unit. In french door refrigerators, it may be located behind the bottom shelf on the same door as the water/ice dispenser.
Once you’ve located the water filter, swing it out of the compartment until it stops. This is usually around a 45º angle. Then, rotate it counter-clockwise until it releases.
It’s normal for a small amount of water to drip out when you remove the filter, so it’s a good idea to have a paper towel or rag nearby just in case.
Step 2: Install the new filter
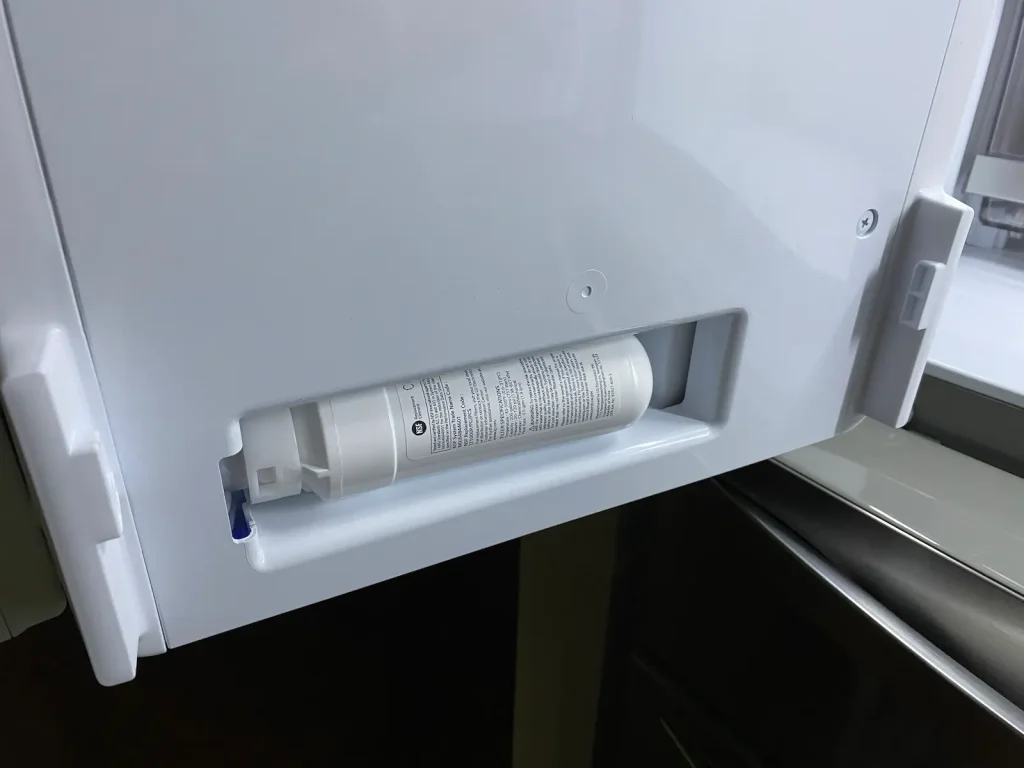
Remove any plastic packaging around your new filter and then make sure that the cover has been removed from the o-rings at the end of the filter.
Insert it into the compartment and then rotate it clockwise until the arrow on the filter lines up with the arrow on the compartment. Push the filter back into position so that it sits flush in the compartment.
If you want some extra piece of mind, you can use a pen to write down the date somewhere on the label. That way you can easily check if it’s been 6 months and it’s time to replace the filter.
Step 3: Purge the new filter
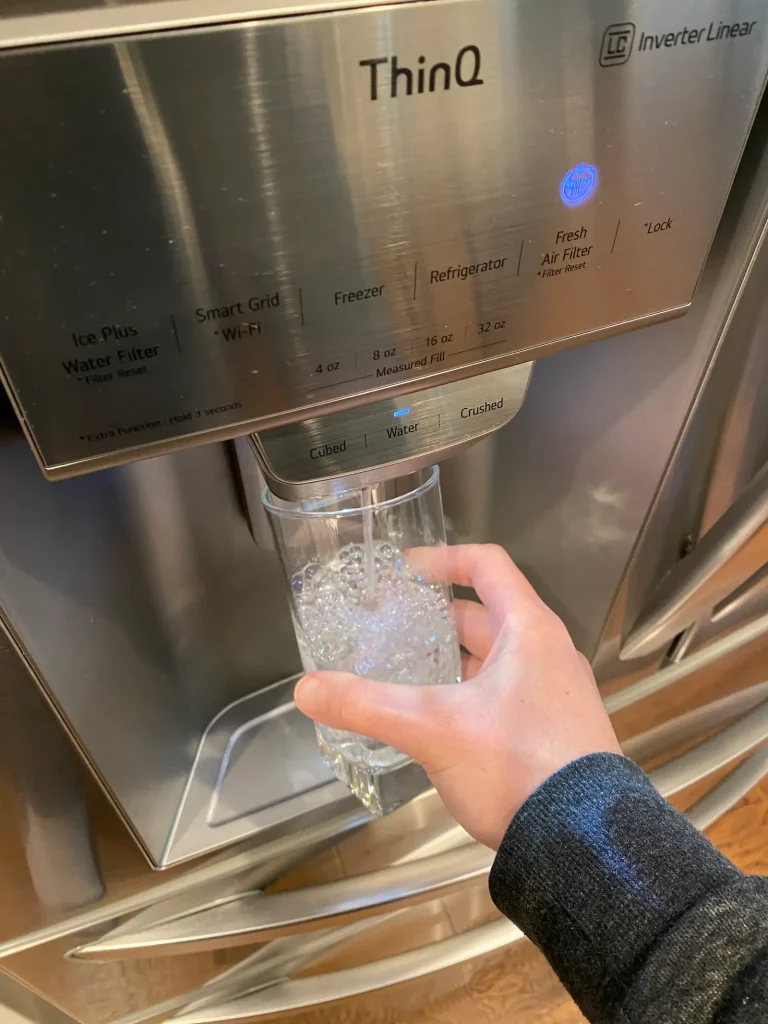
It’s important to run at least 2 gallons through the new filter after you replace it. That’s because, when you first start running water through your filter, it will probably look something like this:
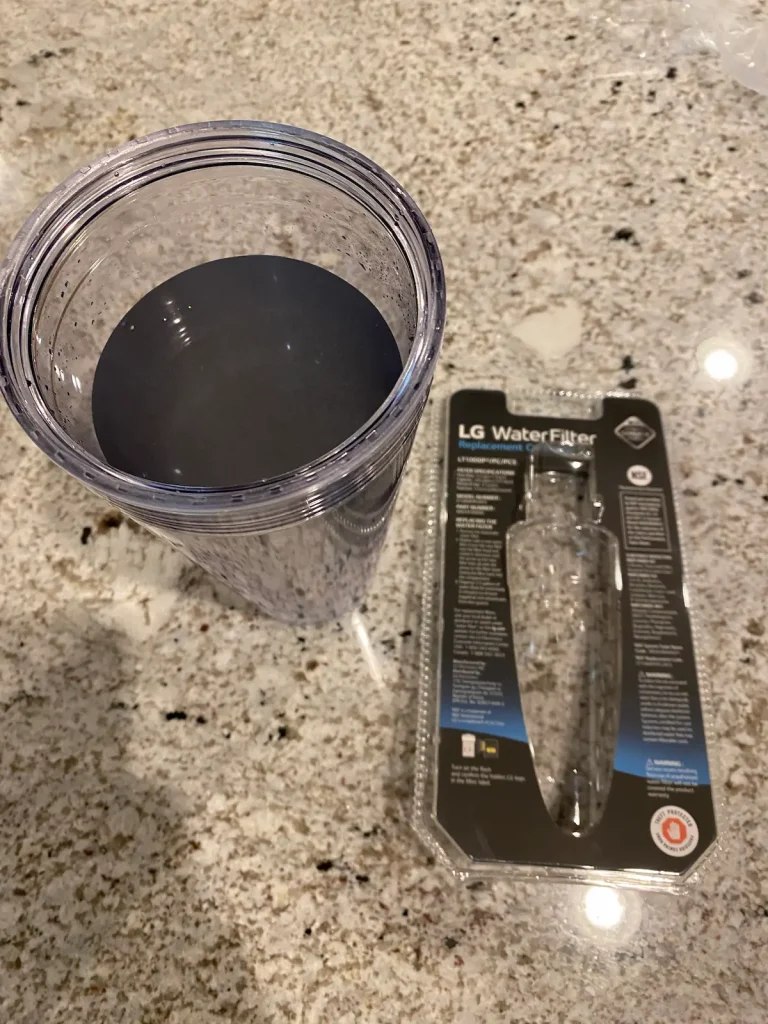
The dark coloring of the water is small particles of charcoal that get loosened as water first passes through the filter. Purging the filter will also help to remove all the air that became trapped in the system when you removed the old filter.
LG recommends that you alternate between dispensing water for 30 seconds and letting the system rest for 60 seconds. A good rule of thumb is to fill a standard 16-oz glass about 20 times in order to fully purge the filter.
The time it takes you to empty the glass and return to fill it up again will help give the system time to rest in between fillings.
Step 4: Reset Filter Light
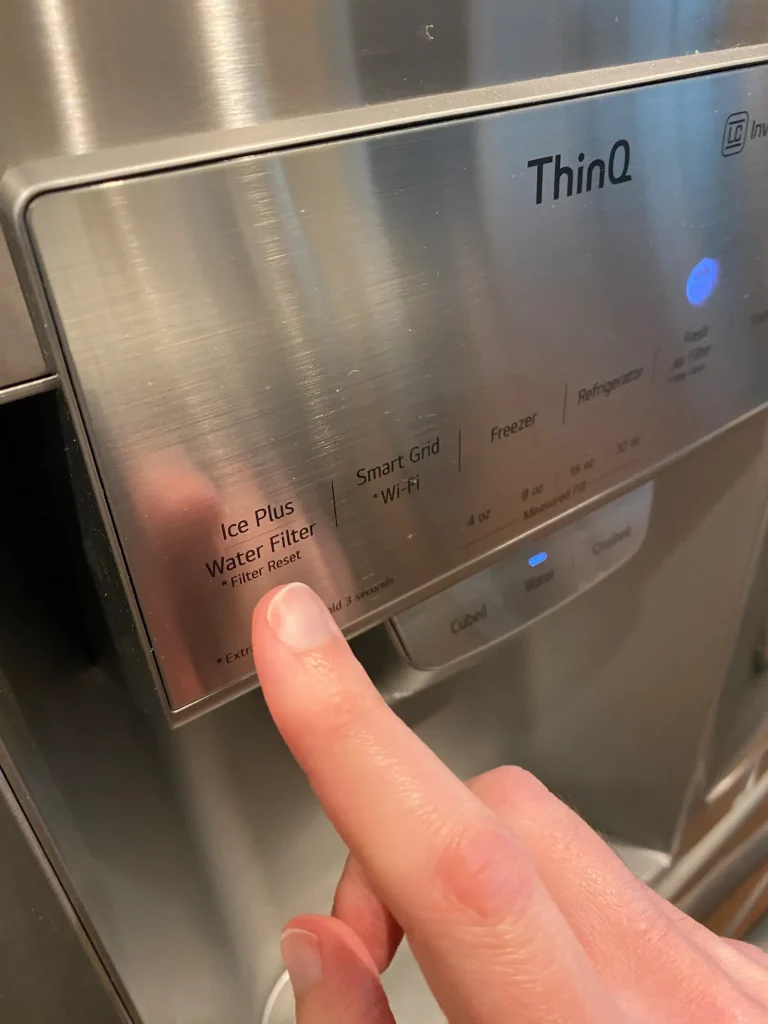
The final step is to reset the “Replace Filter” indicator on your refrigerator.
To do that, simply press and hold the Water Filter button for three seconds or until the light turns off. This will start a new timer so that the filter light turns back on in roughly six months, letting you know that it’s time to replace your filter again.
Optional Step: Change the air filter at the same time
If your LG refrigerator has an air filter, I always recommend changing both of them at the same time. This saves you time and is one less thing that you have to remember, since both of them need to be replaced every 6 months.
I’ve written a whole article on the process of replacing your LG air filter when you’re ready for that.
What To Do If You Can’t Remove The Filter
It’s not uncommon to have trouble removing the old filter from the compartment. That’s especially true if you live in an area that’s prone to very hard water or it’s been more than 6 months since you last replaced it.
This is usually because calcium and other minerals tend to build up around the filter head and acts like glue holding the filter in place.
To fix this, try these steps:
- Make sure that you are rotating the filter counter-clockwise.
- Make sure that you’ve swung the filter as far out of the compartment as it will go. Be careful not to pull it out with too much force, though.
- Try using a gripper pad if you are having trouble rotating the filter. Be gentle but apply firm, consistent pressure to loosen any mineral deposits.
- If your filter still won’t come out, try turning off the water supply to the refrigerator. This can help to reduce any water pressure that might be holding the filter in place.
Where To Get Replacement Filters
You can order official LG water filters from Amazon to enjoy fast and free Prime shipping. You can also enable automatic deliveries of new filters every 6 months and save 5% off the price each time.
I recommend avoiding third party water filters for LG refrigerators, as they are prone to leaks that can ruin your food or even damage your refrigerator and flooring. Official LG filters like the one below are guaranteed to fit without leaking.
This NSF-certified filter is sold by LG and guaranteed to work with most models of LG refrigerators.

