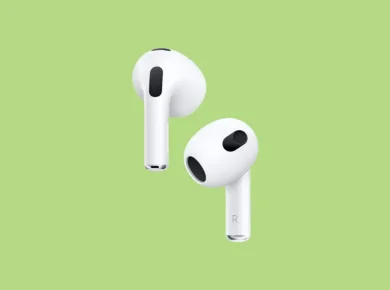
Cleaning your AirPods is not a chore that most people look forward to, but there is a way to make it much easier.
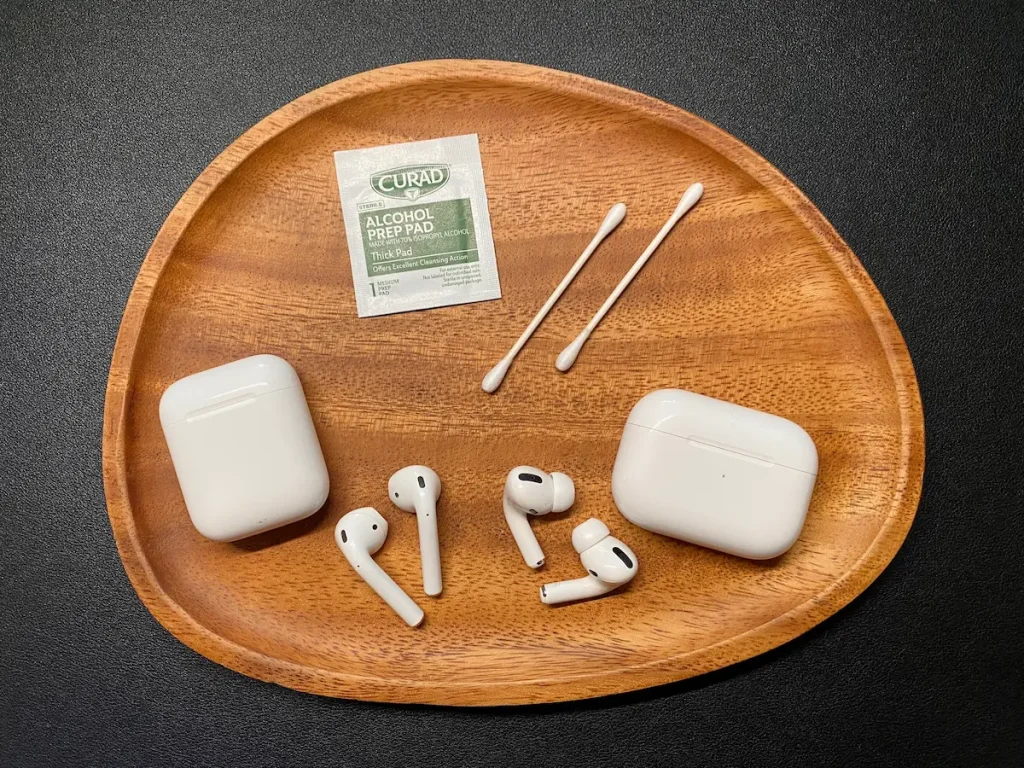
You can clean your AirPods with nothing more than two cotton swabs and 2 minutes of your time. Start by cleaning the delicate mesh screens on each AirPod with a cotton swab, then wipe down the inside of the AirPod case with a separate swab. Avoid any cleaning solutions.
This method is effective no matter how dirty your AirPods and case are. And because you aren’t introducing any moisture at all, it’s perfectly safe.
As a bonus, this method is fast enough that you can easily find the time to regularly clean your AirPods without dreading it.
In my experience it’s best to use two cotton swabs: one for your case and one for your AirPods. This prevents cross-contamination. Of course, if it’s been a long time and your AirPods are especially dirty, you can always use more than two.
Here’s how to safely and quickly clean your AirPods:
What You’ll Need

- Your AirPods and case
- 2-3 cotton swabs
- A 70% isopropyl alcohol pad (optional)
- A little patience
With these simple tools at hand, here are the steps.
Step 1: Remove Your AirPods And Ear Tips
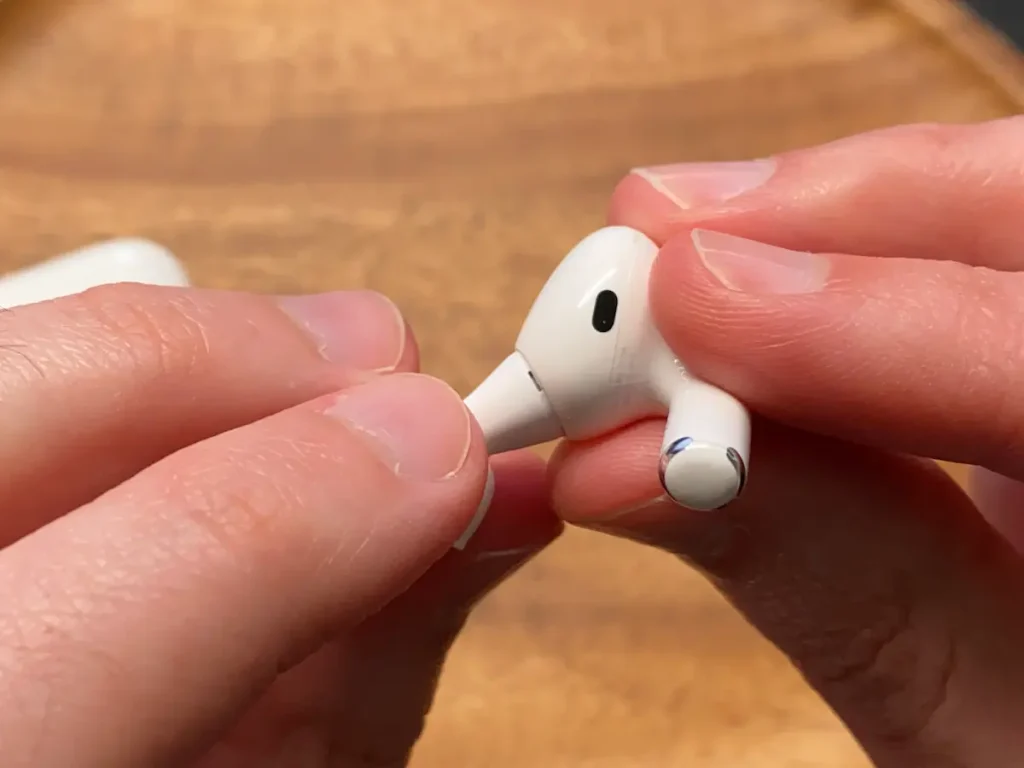
It may seem obvious, but you will want to remove your AirPods from the case. If you are cleaning an AirPod Pro, you can take this time to remove the ear tip covers as well.
To remove the ear tips, pull forward the silicone material and find the release tab. It will look like a small slit along the edge where it attaches to the AirPod. Press gently but firmly and pull it away from the AirPod.
Step 2: Gently Clean The Meshes And Body
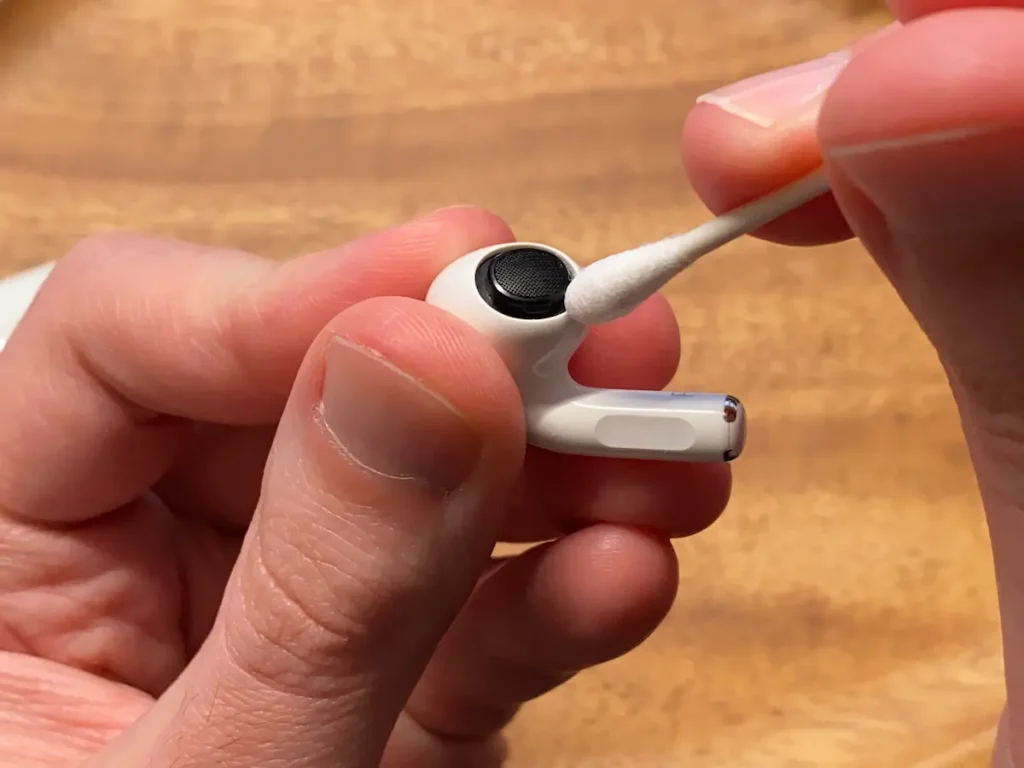
I recommend starting by cleaning the AirPods themselves since they are the most delicate. Using one of your cotton swabs, gently brush off the speaker and microphone mesh and then swab around the edges.
You will want to do the same thing when cleaning regular AirPods as well. The key is to keep rotating the swab and use gentle pressure so that debris gets lifted up and away from the edges.
Tip: Hold the swab at a 45º angle and rotate it while pressing gently against the plastic sides. This helps loosen any debris while avoiding putting pressure on the sensitive mesh screen.
Step 3: Clean The Rest Of The AirPod
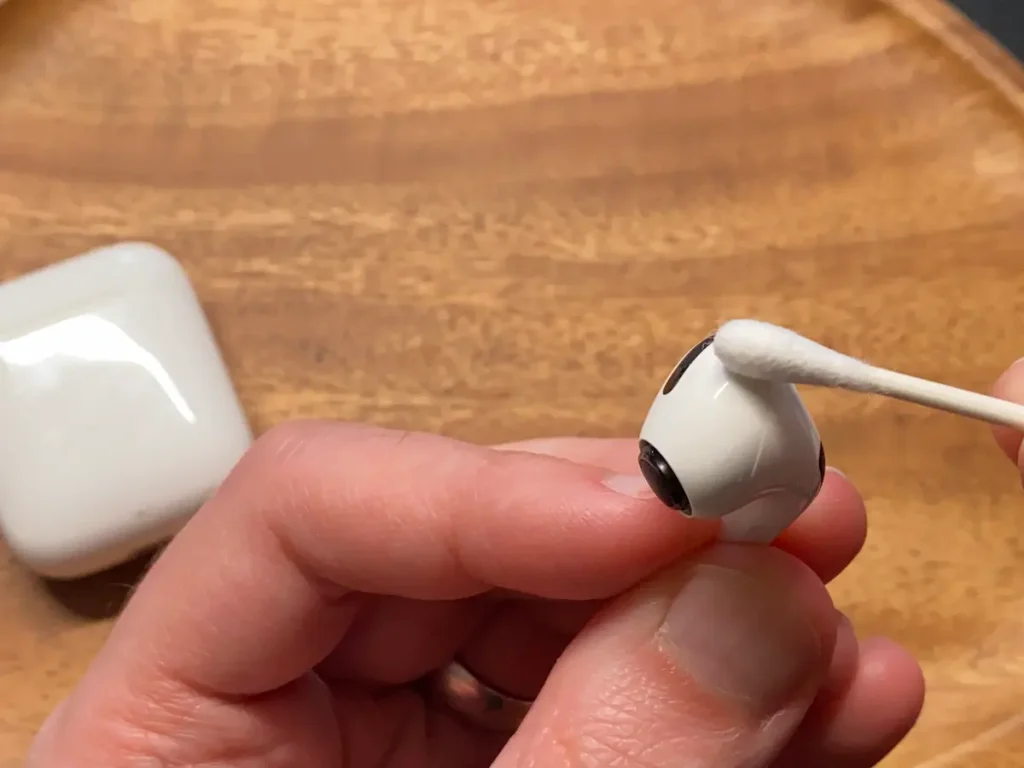
Now, flip your cotton swab over and use the other end to wipe down the AirPod body itself. Be sure to pay attention to the bend directly underneath the speaker mesh, as this tends to be where debris and oils accumulate.
Discard this cotton swab when you’re done.
Step 4: Swab The Top Of The Case
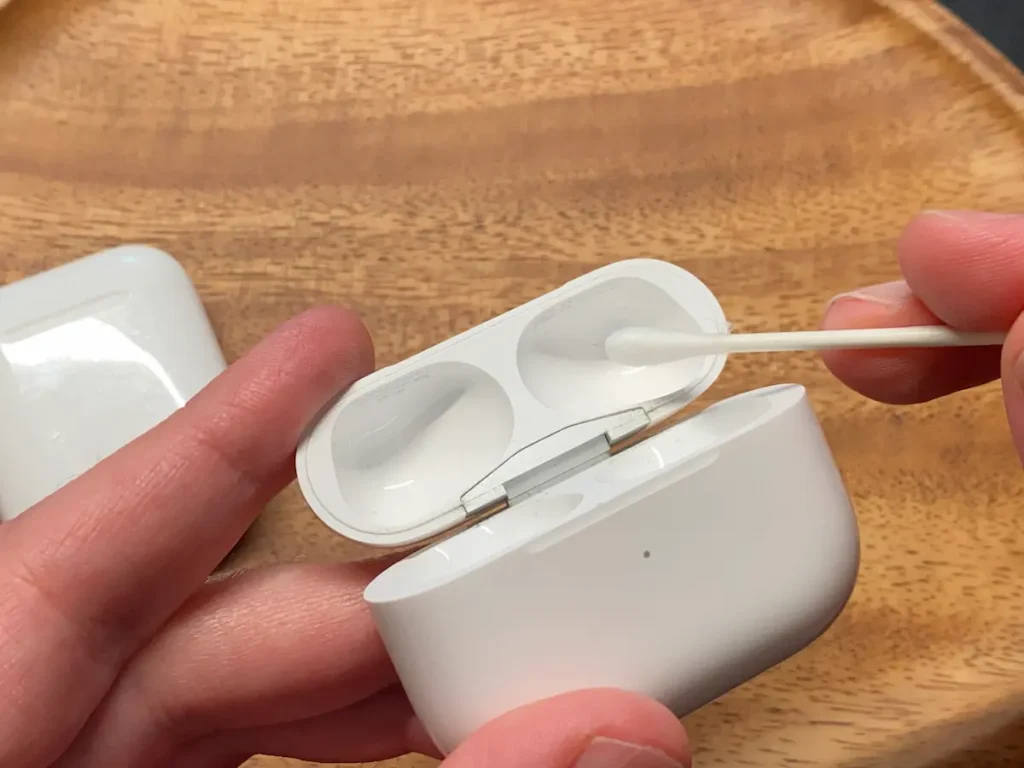
With your second swab, start by wiping off the top of the case. Be sure to get inside both of the grooves and the edges around them as well.
Step 5: Swab The Hinges

It’s easy to overlook the hinges when cleaning your AirPod case, but this tends to be one area that dust and other debris gathers. So it’s worth giving it some attention as well.
Because the lid of the AirPod case fits so tightly against the case itself, you may have trouble reaching certain parts. If you keep moving the swab over the hinge for about 10-20 seconds though, then you should be able to clean most of it.
Step 6: Swab Inside The Case
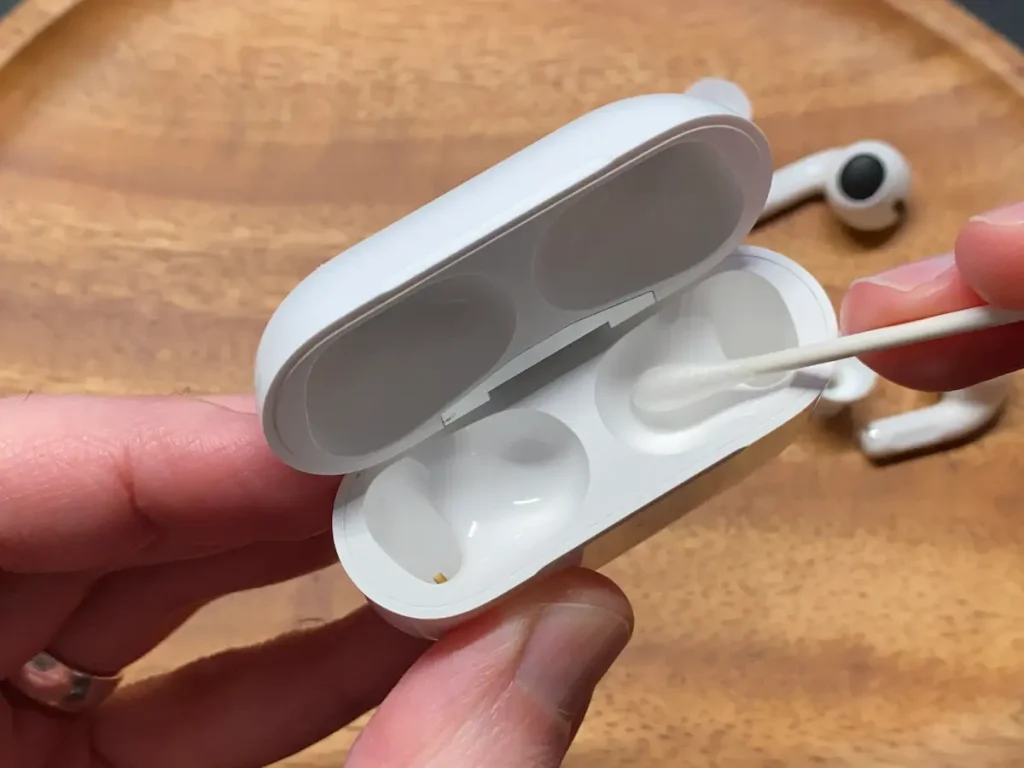
Flip your cotton swab around so that you are using a clean head and begin by swabbing inside the charging canal (the deep portion). Keep spinning the cotton swab, making sure to clean the copper contacts.
Finally, swab the shelf where the AirPod head itself rests. This is almost always the most dirty part of the case since it comes in direct contact with the part of the AirPod that sits inside your ear, so take your time and make sure to get it fully clean.
Step 7: Clean The Ear Tips And Put Them Back On
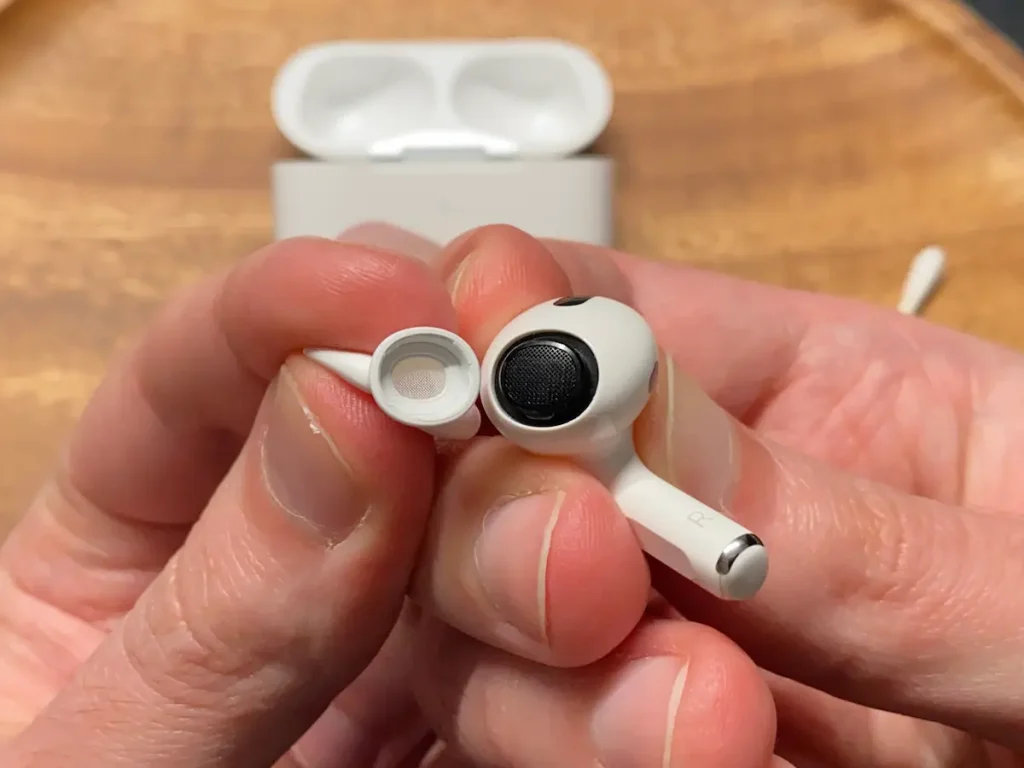
If you removed the silicone ear tips earlier, these can be cleaned either with a cotton swab or by rinsing them in warm (not hot) water. If you do rinse your ear tips, be sure to make sure they’ve dried thoroughly before putting them back on.
Putting the ear tips back on is fairly simple as long as you position it correctly. When looking at the ear tips, you’ll notice that they have a slight oval shape that matches up with your AirPods.
As long as you match the two shapes up, it should simply snap into place with almost no effort. You may hear a quiet “click” sound as the silicone slips under the plastic edge.
Step 8 (Optional): Wipe Down The Case With An Alcohol Pad
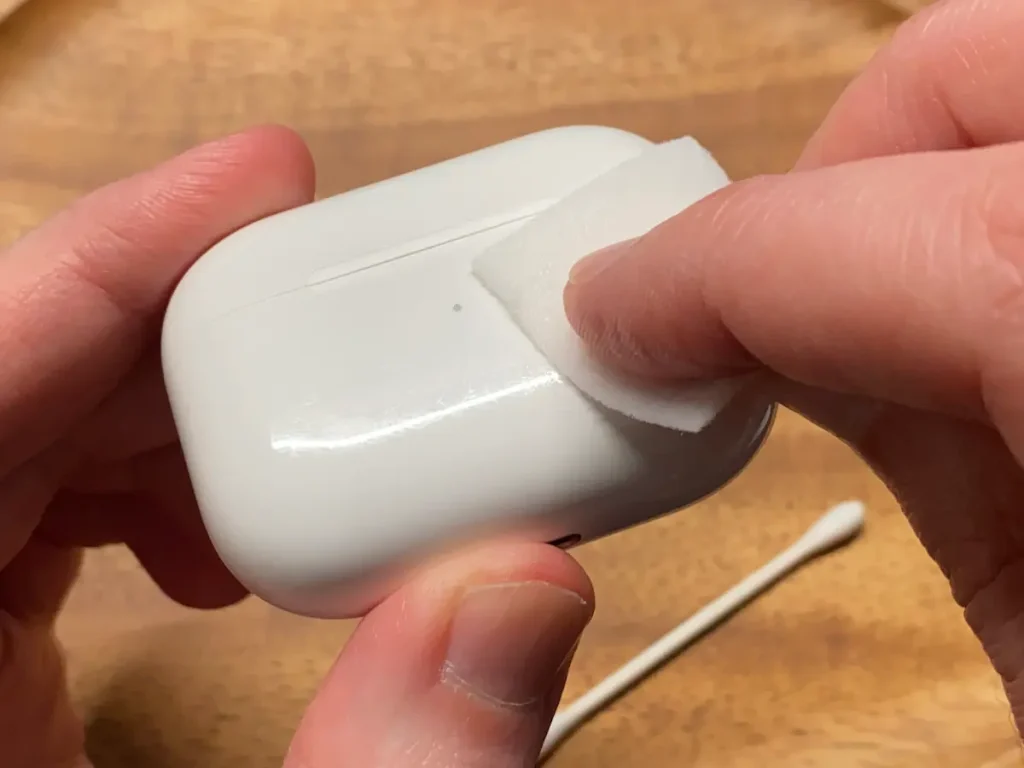
The outside of the case can become dirty as well. If you want, you can use a 70% isopropyl alcohol pad to gently wipe down the outside of the case (don’t use it inside!).
Be careful to avoid getting alcohol inside of the charging port at the bottom. In my experience, the best way to make sure this doesn’t happen is to place your thumb over the port while you’re wiping it down—that way you’re sure to avoid it.
Finally, if either the shelf or the lid of your case was especially dirty or you want to disinfect it, you can press a clean cotton swab tip against the alcohol pad and use it to wipe inside the case.
This gets enough alcohol on the swab to help with disinfecting without exposing the inside of your case to the abrasive chemicals directly. Just make sure not to put the swab down into the charging canals, and leave the case open afterwards for 5-10 minutes so that it fully dries.
How Often Should You Clean Your AirPods?
It’s a good idea to clean your AirPods about once a month with regular usage. If you are frequently wearing your AirPods or wear them for a long period of time, such as 4+ hours a day, then you may want to clean them every 1-2 weeks.
If you don’t clean your AirPods regularly, two things will happen over time:
- Your audio and microphone quality will start to deteriorate as debris starts to clog up the fine mesh screens that cover those components.
- It will become much harder to clean when you do finally decide to give it a thorough scrubbing.
Keeping your AirPods and case clean will help make sure that they keep working for years to come, as well as prevent possible ear infections due to bacteria build up.
If you haven’t cleaned your AirPods in a while, give it a try. You might be surprised by how much of a difference it makes, both in how they feel and in how well they work.
Is It Good To Clean Your AirPods?
Regularly cleaning your AirPods helps ensure that the speakers and microphone aren’t blocked by ear wax and other debris. It can also help with prevent infections due to the build-up of bacteria on your AirPods or in the case.
Apple recommends steering clear of chemical cleaners, which can actually damage your AirPods if you use them too often. In addition, it’s a good idea to be extremely gentle when cleaning the mesh screens that cover the speakers and microphone, as these are much more fragile than they appear.
Can You Go To Apple To Clean AirPods?
While you might find a kind Apple employee willing to help you, Apple stores do not offer a cleaning service for AirPods. This is even more likely to be strictly enforced given rule changes due to COVID-19.
The best way to clean your AirPods is to simply follow the steps I’ve listed above!
Why Is One Of My AirPods Quiet?
There are a few possible reasons, but one of the most common is that the mesh screen covering the speaker is partially covered by ear wax or other debris. Use a cotton swab to gently wipe off the screen, but be careful not to press to hard or you may damage the speaker.
What You Need To Know
Cleaning your AirPods can be as quick and easy as wiping down your phone (you do clean your phone regularly, right?). All it takes is a couple of cotton swabs and 1-2 minutes at most.
Here are a few quick tips to keep in mind:
- Never press against the mesh screens that cover the speakers or microphones. These are more delicate than they look, and you can easily damage them.
- Avoid getting liquid anywhere near your case or AirPods. Even a little bit of water or cleaning solution can cause big problems.
- Clean your AirPods about once a month. If you use them frequently or for a long period of time at once, you may want to clean them every 1-2 weeks.
That’s all there is to it! These steps will work well for Apple AirPods, AirPods 2, AirPods 3, and AirPods Pro.
