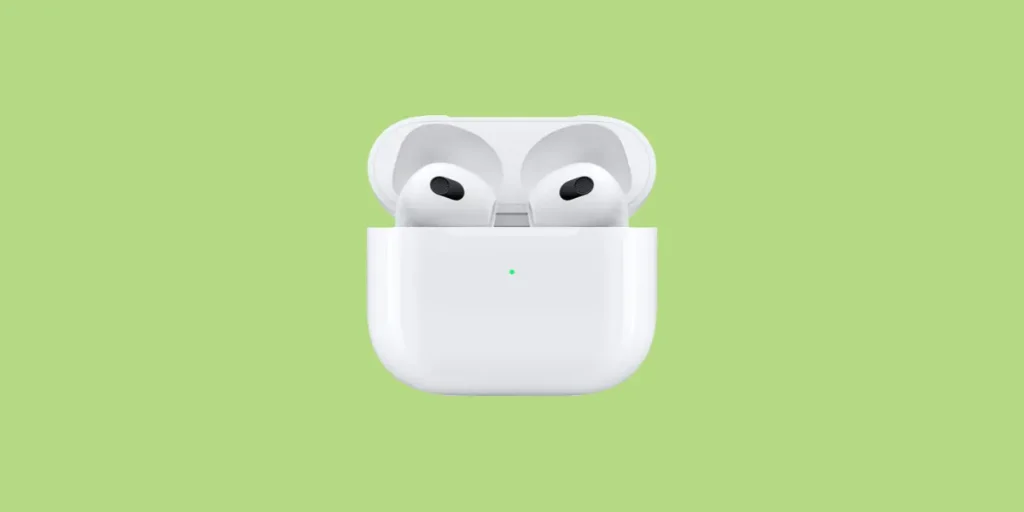
If your Airpods are having trouble connecting to your phone or charging, resetting them can help to fix issues that may be draining the battery.
This works because often times the underlying problem is that the Airpods are stuck constantly searching for a Bluetooth connection, which means it may not reliably connect to your device and won’t stay charged.
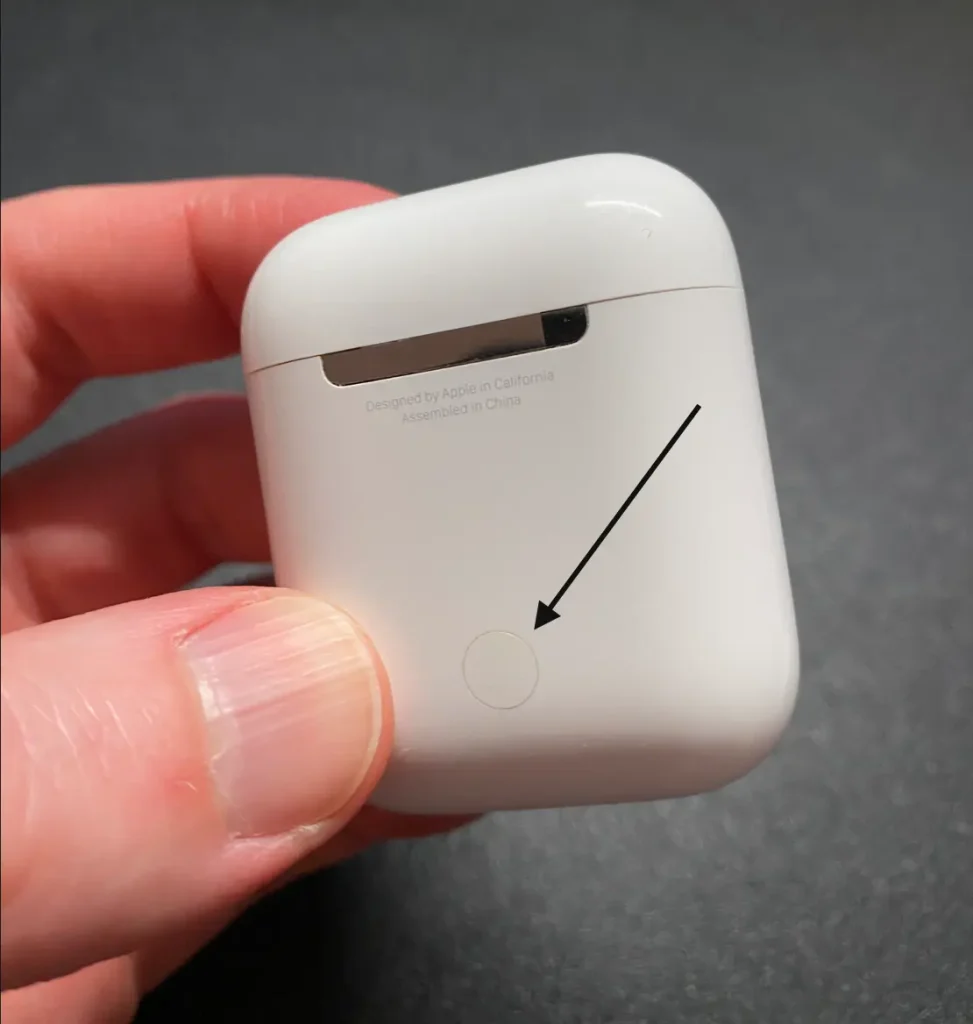
To factory reset your Airpods Pro, first go to settings and forget the Airpods. Then open the lid and leave it open next to your iPhone. Wait about 30 seconds, then press and hold the button on the back of the case for 15 seconds. You will need to reconnect your Airpods.
Keep in mind that the Airpods Pro can only be connected to one Apple ID at a time. So if the device you’re trying to connect to is associated with a different Apple ID, you will need to first remove it from the existing Apple ID.
The rest of this article will go through each step (with photos) so you can quickly get your Airpods working again.
Let’s get right to it!
Step 1: Open your Airpod case
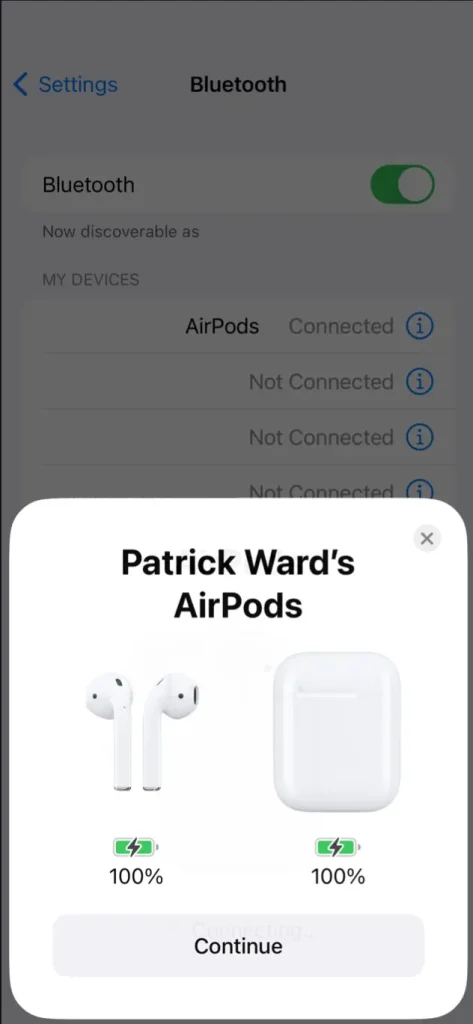
Open your Airpods case (with the Airpods inside) and set it on its side near your iPhone. Unlock your phone and wait for about 30 seconds.
At this point you might see a notification pop up showing your Airpods, although if you are having connection issues you may not see this screen.
Tap the “i” icon next to your Airpods Pro and select Forget This Device. This will unpair it from your current phone.
Step 2: Press the button on the back of the Airpod case for 15 seconds
Put your Airpods back into the charging case and leave the case open. Press the button on the back of the Airpods. Hold it down for about 15 seconds, until indicator light will start flashing amber and then white. When it turns white, you can let go of the button.
Step 3: Leave your Airpod case open and near your iPhone
You will need to leave your Airpod case open and in close proximity to your phone—ideally no more than a foot or two. While the Airpods reset, check to see if they appear in your Bluetooth settings under “My Devices”.
If you see the Airpods there, tap the “i” icon and tap “Forget Device”.
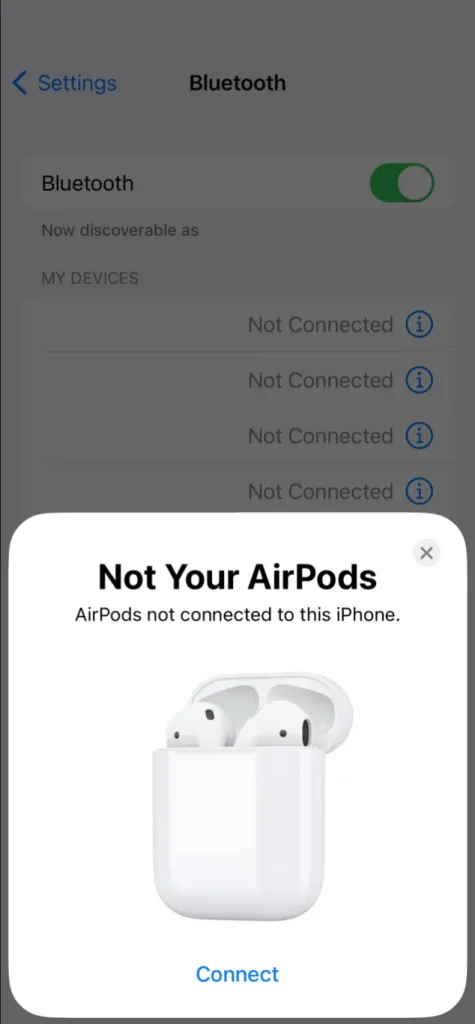
Now you will need to leave the Airpods next to your unlocked phone for about 30 seconds until you see a screen that says “Not Your Airpods”. This indicates that the Airpods have been reset and are now trying to connect to your iPhone.
Step 4: Connect your Airpods
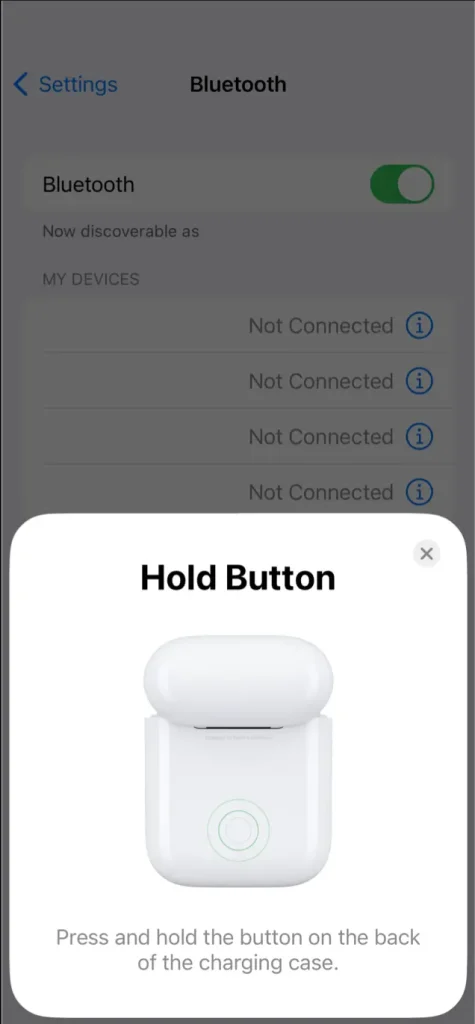
Tap “Connect” when you see this screen. It will then tell you to press and hold the button on the back of the Airpod case.
You will only need to press the button for about 5 seconds, then the indicator light should turn green.
Step 5: Wait For Your Airpods To Finish Connecting
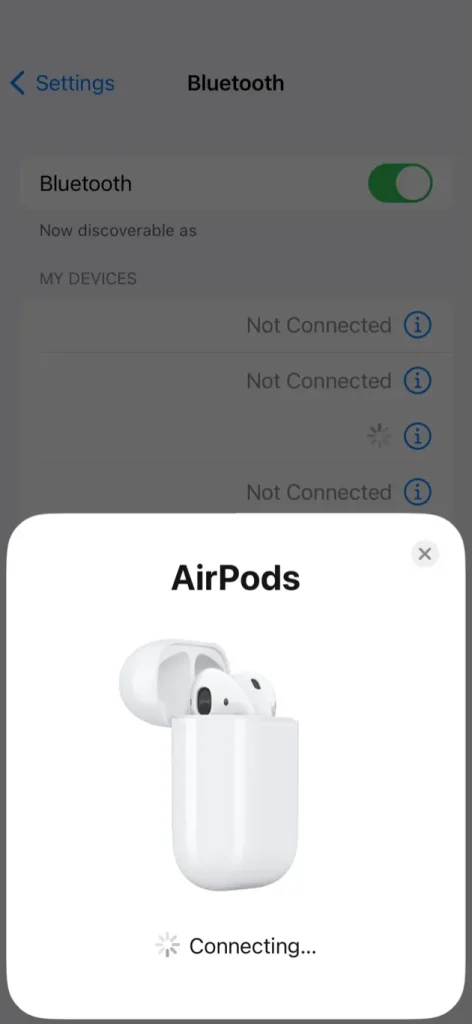
The notification screen will change to show you that the Airpods are now connecting. This step should only take a few seconds.
That’s it!
Your Airpods have now been reset and reconnected to your phone. Trying using them as you normally would to see if the problem has been fixed.
If you’re still having trouble, it’s possible that something else has gone wrong with your Airpods. Double check that the iPhone you are trying to connect them to is associated with the same Apple ID that was using them before.
The Airpod Pro are covered under a manufacturer’s warranty for a full year, so if it’s been less than 12 months since you purchased them, then it might be worth reaching out to Apple support.

