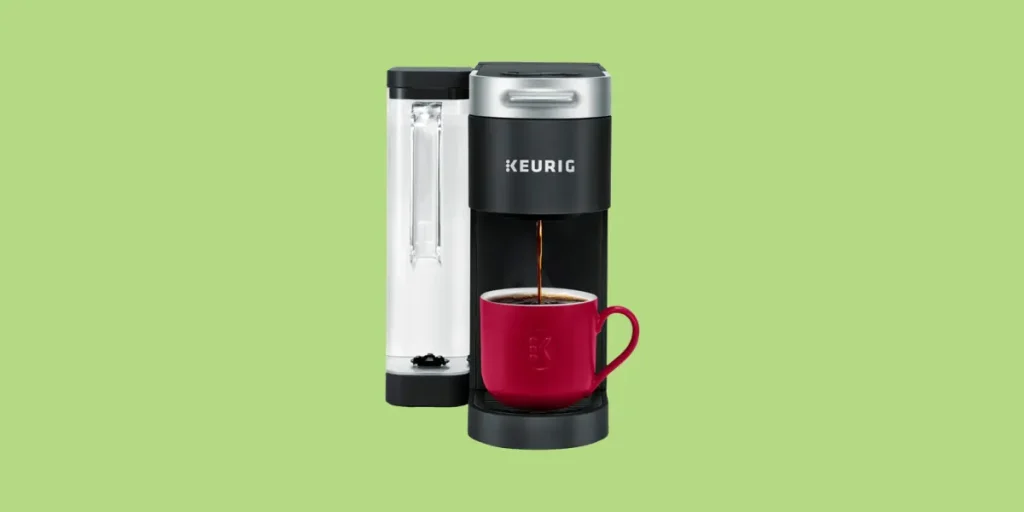
Scale is a term that’s used to describe the calcium deposits that build up in your Keurig over time. And although it isn’t harmful, it can alter the taste of your coffee and lead to issues such as your Keurig:
- Not brewing full cup
- Stops brewing after a few seconds
- Problems with water flow
- Not heating properly
Descaling your Keurig every 3 months is the best way to fix these problems (and avoid them happening in the first place).
This article will cover every step of the process as well as how to reset the descale light on your Keurig and what to do if there’s a problem. You can use the table of contents below to jump right to your model of Keurig.
Keurig Descale Reset
To descale your Keurig, you will need to fill the reservoir with a 1:1 ratio of cleaning solution or vinegar and water. You want to let the solution stand for at least 30 minutes and then run plenty of clean water through the brewer. The Descale light should automatically reset once you’re done.
The most important thing to keep in mind when descaling your Keurig is to make sure you enter descale mode before you begin.
This causes about 90% of the cases where the descale light won’t turn off after you’ve cleaned it.
And because each model is slightly different, I’ve covered the steps for all models below:
| Model | |
|---|---|
| Keurig Smart Brewer | View Steps → |
| Keurig 2.0 | View Steps → |
| Keurig Duo | View Steps → |
| Keurig Mini | View Steps → |
| Keurig Supreme | View Steps → |
| Keurig Slim | View Steps → |
| Keurig Express | View Steps → |
| Keurig Essentials | View Steps → |
Descale Keurig Smart Brewer
If you have a Keurig Smart brewer that needs to be descaled and reset, follow these steps:
- Press down the two arrow buttons to open Settings and select Descale Mode.
- Empty the reservoir and fill it with 1:1 parts cleaning solution or vinegar.
- Press the flashing Brew button and repeat until the reservoir runs out of water.
- Rinse the reservoir and fill it with fresh water.
- When the Brew button flashes, press it to begin the fresh water rinse. Repeat until screen says Descale Complete.
How To Descale Keurig 2.0
If you have a traditional Keurig 2.0 that needs to be descaled and reset, follow these steps:
- Turn off the brewer.
- Empty the reservoir and fill it with 1:1 parts cleaning solution and water, or you can use pure white vinegar.
- Turn brewer on, select the largest brew size, and press Brew.
- Repeat until the reservoir is empty.
- Leave the brewer alone for about 30 minutes. If using vinegar, let it sit for 4 hours.
- Rinse the reservoir and fill it with fresh water.
- When the Brew button flashes, press it to begin the fresh water rinse. Run at least 12 rinsing brews.
How To Descale Keurig Duo
To properly descale a Keurig Duo coffee machine, you will need to clean both the Carafe and Single Cup sides. Just follow these steps:
- Turn off the brewer.
- Empty the reservoir and fill it with 1:1 parts cleaning solution or vinegar.
- Press the Oz/Pod button to activate single cup side. Press the 12 button to start a cleaning brew.
- Next, press Cups/Carafe to switch to the carafe side and press the 12 button to start a carafe rinse brew.
- Press and hold the Cups/Carafe button to make sure the heating plate turns off.
- Leave the brewer alone for 30 minutes. If using vinegar, let it sit for 4 hours.
- Rinse the reservoir and fill it with fresh water.
- Press the Cups/Carafe button and then the 12 button to start a water brew. Repeat 3 more times, refilling the reservoir as needed.
- Press and hold Cups/Carafe to disable the heating plate.
- Press the Oz/Pod button to switch to the single cup side and press 12 to start a water brew. Repeat three more times, refilling the reservoir as needed.
How To Descale Keurig Duo With Vinegar
You can easily substitute pure white vinegar for the Keurig Descaling Solution when cleaning your Duo brewer. Before descaling, fill the reservoir to the Max line with white vinegar—don’t dilute it with water. Let it sit in the reservoir for at least 4 hours before doing a rinse brew with fresh water.
My personal favorite is Lucy’s Natural Distilled White Vinegar (5% Acidity), which comes in gallon size and is half as expensive as using the descaling solution.
How To Descale Keurig Mini
If you have a Keurig Mini that needs to be descaled and reset, follow these steps:
- Turn on the brewer.
- Pour 1/3 of the Keurig Descaling Solution or 5 oz. of vinegar and then fill to max line with water.
- Lift the brew handle, ensure that no pod or filter is present, then lower the handle.
- Press the Brew button.
- Refill the reservoir with your cleaning solution and water, then hit Brew again.
- As soon as the solution starts dispensing into the mug, turn the Keurig off and leave it alone for 30 minutes. If using vinegar, let it sit for 4 hours.
- Turn on the brewer, lift and lower the handle, and press Brew.
- Rinse the reservoir and fill it with fresh water.
- Run at least three full reservoirs of fresh water through your Keurig Mini.
Descale Keurig Mini With Vinegar
You can easily substitute pure white vinegar for the Keurig Descaling Solution when cleaning your Mini brewer. Before descaling, fill the reservoir to the Max line with white vinegar—don’t dilute it with water. Let it sit in the reservoir for at least 4 hours before doing a rinse brew with fresh water.
My personal favorite is Lucy’s Natural Distilled White Vinegar (5% Acidity), which comes in gallon size and is half as expensive as using the descaling solution.
Descale Keurig Supreme
If you have a Keurig Supreme that needs to be descaled and reset, follow these steps:
- Turn off the brewer.
- Empty the reservoir and fill it with 1:1 parts cleaning solution or vinegar.
- Press and hold both the 8oz and 12oz buttons for 3 seconds.
- Press the Brew button (which should start flashing). Repeat until the reservoir is empty.
- Rinse the reservoir and fill it with fresh water.
- Run at least three full reservoirs of fresh water through your Keurig or until the Descale notification disappears.
Descale Keurig Supreme With Vinegar
You can easily substitute pure white vinegar for the Keurig Descaling Solution when cleaning your brewer. Before descaling, fill the reservoir to the Max line with white vinegar—don’t dilute it with water. While the Keurig Descaling Solution is mostly odorless, vinegar will produce a strong sour scent while cleaning.
My personal favorite is Lucy’s Natural Distilled White Vinegar (5% Acidity), which comes in gallon size and is half as expensive as using the descaling solution.
How To Turn Off Descale Light On Keurig Supreme
If your descale light is still on after running a cleaning cycle, follow these steps:
- Turn the Keurig off.
- Fill the reservoir with fresh water.
- Press down the 8oz and 12oz buttons for three seconds, until the Brew button starts flashing.
- Press the K button and brew until you’ve emptied two full reservoirs of water.
- The descale light should turn off automatically once enough water has been brewed.
The most common reason that people have trouble with the descale light is that the Keurig didn’t properly enter descale mode or it hasn’t brewed enough water yet.
The quickest way to fix it is by following the steps above, using fresh water if you’ve already descaled your Keurig.
How To Descale Keurig Slim
If you have a Keurig Slim that needs to be descaled and reset, follow these steps:
- Turn off the brewer.
- Empty the reservoir and fill it with 1:1 parts cleaning solution and water or pure white vinegar.
- Press and hold both the 8oz and 12oz buttons for 3 seconds.
- Press the Brew button (which should start flashing). Repeat until the reservoir is empty.
- Rinse the reservoir and fill it with fresh water.
- Run at least three full reservoirs of fresh water through your Keurig or until the Descale notification disappears.
Descale Keurig Slim With Vinegar
You can descale a Keurig Slim with vinegar using the exact same steps as the descaling solution. You should use only pure white vinegar and fill the entire reservoir—don’t dilute it with water. While the Keurig Descaling Solution is mostly odorless, vinegar will produce a strong sour scent while cleaning.
My personal favorite is Lucy’s Natural Distilled White Vinegar (5% Acidity), which comes in gallon size and is half as expensive as using the descaling solution.
Keurig Slim Descale Light Stays On
If your descale light is staying on after cleaning, it’s possible that the brewer didn’t properly enter descale mode. Turn off the Keurig and press both the 8oz. and 12oz buttons for 3 seconds. When the Brew light starts flashing, press it. Continue brewing until the light turns off, which will take roughly 3 full reservoirs.
How To Descale Keurig Express
If you have a Keurig Express that needs to be descaled and reset, follow these steps:
- Turn off the brewer.
- Empty the reservoir and fill it with 1:1 parts cleaning solution or vinegar.
- Press and hold both the 8oz and 12oz buttons for 3 seconds.
- Press the 12oz button (which should start flashing). Repeat until the reservoir is empty.
- Rinse the reservoir and fill it with fresh water.
- Run at least three full reservoirs of fresh water through your Keurig or until the Descale notification disappears.
How To Descale Keurig Essentials
If you have a Keurig Essentials that needs to be descaled and reset, follow these steps:
- Turn off the brewer.
- Empty the reservoir and fill it with 1:1 parts cleaning solution or vinegar.
- Press and hold both the 6oz and 10oz buttons for 3 seconds.
- Press the 8oz button (which should start flashing). Repeat until the reservoir is empty.
- Rinse the reservoir and fill it with fresh water.
- Run at least three full reservoirs of fresh water through your Keurig or until the Descale notification disappears.
Keurig Still Says Descale After Descaling
Most Keurig models have a descale mode that you must enter and run several brew cycles through before the descale indicator will turn off.
This step is important because if you don’t enter the descale mode first, the machine won’t detect that you’ve cleaned it and the descale light will remain on.
In some cases, there may be so much calcium build-up that a single cleaning cycle doesn’t quite fix the problem. This is especially true if you’ve gone a long time without cleaning or if your area has particularly hard water.
The best fix is to follow the cleaning steps a second time. While time-consuming, this is the most reliable way to clean your coffee maker and get the descale light to turn off.
Round Up
The general process for descaling any Keurig can be time-consuming but it’s also fairly straightforward.
Following the steps outline above to enter descale mode when starting will ensure that you are able to efficiently and properly descale your Keurig so that it keeps working for years to come.
If you run into issues or this guide didn’t help you to reset your descale indicator, there may be a problem with the brewer itself.
Keurig offers a 1-year limited warranty and the support team can be reached 7-days a week by phone, email, or live chat.

