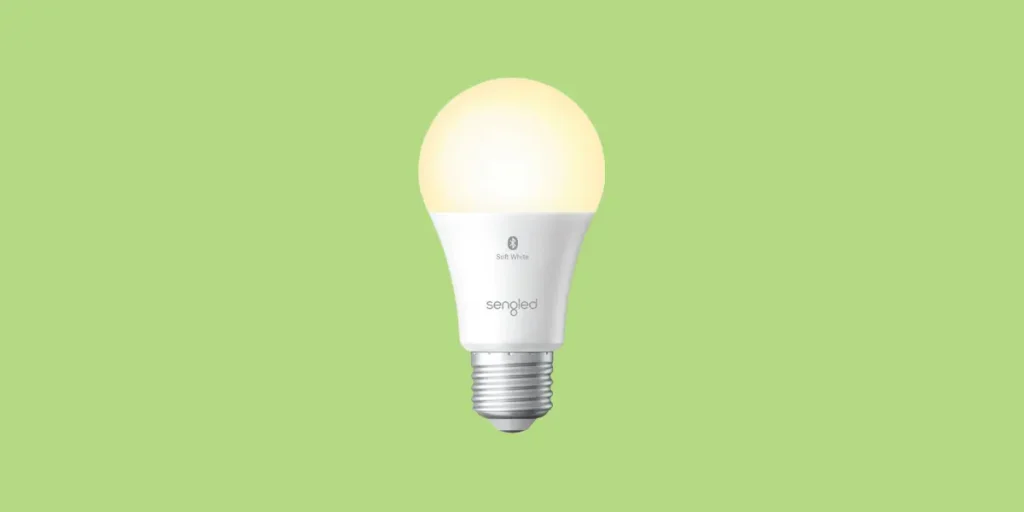
Sengled bulbs are a great and affordable way to get your house set up with smart lighting. But like other smart bulbs, you may occasionally run into connection issues (I’m looking at you, Hue bulbs).
The easiest way to fix a Sengled bulb that isn’t connecting or responding is by resetting it.
That said, any reset of your Sengled bulb (or hub) will cause it to return to factory conditions. That means you will need to set it back up once the reset process is over.
Don’t worry, though — I’ll go over the setup process as well so that once you’ve reset your Sengled bulb, you can get it connected and working again.
Let’s dive in!
How To Reset Sengled Bulb
Once you’ve confirmed that your Sengled bulb is in a powered socket, you are ready to reset it. Starting with the fixture turned on, turn the bulb off and back on five times. Once completed, the bulb will flash three times and then blink twice. You will then need to reconnect the bulb.
Since most versions of Sengled bulbs do not have any buttons, the only way to send a reset signal is by toggling the power on and off like this.
It’s important that you toggle quickly and that the bulb be placed on a 2-way switch (one that has only an Off and an On setting). A 3-way lamp, turn style lamp, or a switch with a dimmer won’t work for this process.
If necessary, you may need to move the bulb to a compatible lamp or fixture in order to reset it.
The process is the same for all Sengled bulbs except for the number of times you need to toggle the power. The table below makes this easy:
| Bulb Type | # of Power Toggles | # of Flashes |
|---|---|---|
| Smart LED | 10 times | 5 flashes |
| Smart Wi-Fi LED | 5 times | 3 flashes + 2 blinks |
| Smart Bluetooth | 5 times | 3 flashes + 1 blink |
To reset the Sengled Smart LED with Touch Button, you will need to press and hold down the button on the side of the bulb for twenty seconds. It will flash five times and then begin to pulse when the reset is successful.
How To Put Sengled Bulb In Pairing Mode For Alexa
If you’ve followed the reset steps above, your bulb should now be in pairing mode. Keep in mind that Sengled bulbs will give you up to three minutes in order to pair before automatically exiting pair mode.
To re-enter pair mode at any time, simply turn the bulb off for 20 seconds, then turn it back on. It should blink when you turn it on to indicate that pairing mode is active.
If it doesn’t blink when you power it on, something may have gone wrong with the reset process. Try following it again to see if that helps.
To connect your Sengled bulb using Wi-Fi, try these steps:
- Open the Sengled Home app on your smartphone.
- Tap on the three dots in top right corner.
- Tap Add Device.
- Tap Wi-Fi LEDs and Accessories.
- Tap Confirm to begin pairing.
- Once found, the new bulb will appear with a name like “Sengled_Wi-Fi Bulb_28D4”.
- Tap Connect in order to connect to the Wi-Fi network of your bulb.
- Next, select the correct Wi-Fi network that you want the bulb to use (it should be a 2.4 GHz network).
- Enter the password for the Wi-Fi network, double checking to make sure you entered it correctly. Then tap Next.
- The app will connect to the bulb and set it up.
You may notice your Sengled bulb flash several times during this process. The app will display a status indicator and when the bulb has been successfully connected, you will see a “Congratulations!” message.
To complete the setup process, simply assign the bulb to an existing room or create a new one and tap Done.
Sengled Bulb Not Pairing
There are two common reasons that your Sengled bulb may not be pairing.
By far the most common is that you entered the Wi-Fi password incorrectly. Follow the steps above and be sure to tap on “Show” when you get to the password screen and double check that you’ve entered it correctly.
Another common reason for the bulb not to pair is that you’ve tried connecting it to a Wi-Fi network that isn’t 2.4GHz. Most modern routers will automatically create two networks for you, one that is 5 GHz and one that is 2.4 GHz, and it’s easy to mix them up.
The 5 GHz network is faster but it also tends to have less range and can get disrupted more easily. That’s why Sengled and most other smart devices need to be set up using the more stable (but slower) 2.4 GHz network.
In short, you’ll want to double check that you’re connected to a 2.4 GHz network and that you’ve entered the Wi-Fi password correctly.
Quick Recap
Although resetting your Sengled smart bulb is as easy as flicking a switch, there are a few things you will need to take into consideration. I’ve covered the main ones below:
- Resetting a Sengled bulb will restore it to factory conditions and erase any saved settings.
- Flick the power switch off and on 10 times for the Smart LED bulb and 5 times for the other bulbs.
- To reset the Sengled Smart LED with Touch Button, press and hold down the button on the side of the bulb for twenty seconds.
- You will need to pair your bulb after resetting it using the Sengled Home app on your smartphone.
If you are still having trouble with your smart bulb, you can reach out to Sengled support to get help with troubleshooting the issue. They can also be reached by email or by phone Mon-Fri.

